The importance of media preservation cannot be overstated. Physical media is a ticking time tomb that becomes useless the moment the hardware it depends on is out of production and can’t be repaired anymore. All those memories we made with those games? Gone! They can’t be revisited!
Or maybe we can?
Through the emergence of emulators made by extraordinarily talented developers, the concept of game preservation is growing healthier day by day. Reverse engineering these proprietary hardware is a feat no ordinary software developer can achieve. Through the magic of emulation, we can forever preserve our favorite games in the digital world and it may even outlast us!
The PS2 is a console responsible for shaping up the 2000s generation of kids. Ever since the console went out of production in 2013, the prices for old models have gone up and aren’t viable for an average person. But emulation allows us to revisit these games but in even better quality! Let’s see how we can set up the most popular PS2 emulator in the easiest way possible. Follow them in the same order as presented to avoid any potential headaches. (Because trust me, troubleshooting for hours only to realize the solution was simple is heartbreaking!)
Requirements
The following are mandatory hardware requirements for a smooth experience. Even if you have a lower tier system, some relatively light games will run smoothly.
- A good CPU, at least a 4-core one. The most important hardware requirement is the CPU as emulators are usually heavily CPU dependent.
- 6GB RAM
- GTX 1050ti or higher is recommended. Though even if you have a lower spec card, it’s worth trying out if you have a good CPU.
If all the above checks out, it’s safe to say you will have a good time running most of the games in the PS2 library!
Setting up

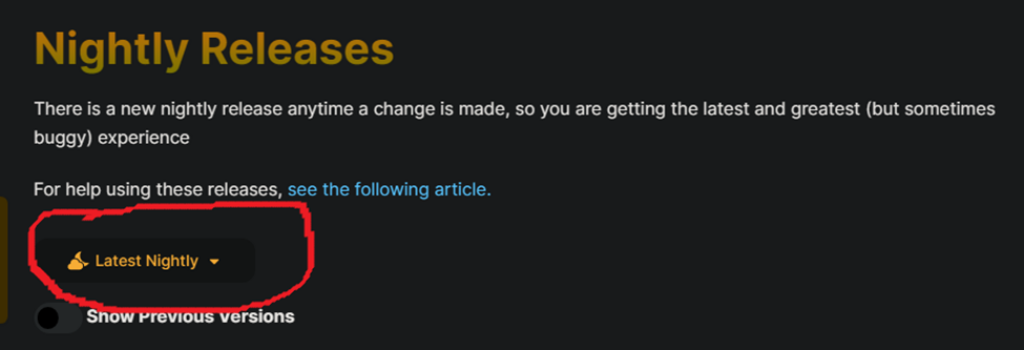
Step 1: Download the ‘nightly build’ from the PCSX2 website. Click on the first option from the dropdown menu.
Step 2: Extract the downloaded file using Winrar or other similar extracting software. Note the destination folder where you extract it.
Step 3: Open the extracted folder. Launch the ‘pcsx2-qtx64-avx2.exe’ file at least once then close it. You may now notice that some new folders have been automatically created in the emulator directory.

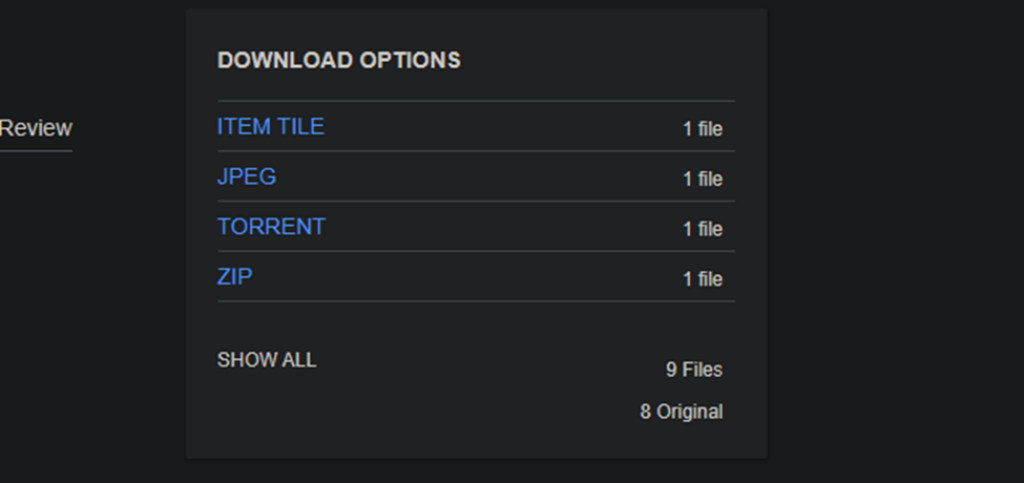
Step 4: Now it’s time to dump the BIOS of the PS2. Essentially this refers to the built in software inside the PS2 that’s responsible for running it. You can download the BIOS from here. Once you open the site click on the ZIP option and it will start downloading it.

Step 5: Extract the downloaded folder somewhere and copy the following two files (scph10000.bin and scph10000.NVM) into the ‘bios’ folder in the PCSX2 directory.
Step 6: And that’s it. We have successfully set up the emulator itself. Now it’s time to play some games but be patient, there’s a bit more knob-turning involved before we can fully sit down and play!
ROMs
We need the respective ROM files of the games we intend to play. But acquiring them is a hot topic! The legal way to obtain game files is by dumping the files directly from the PS2 discs you own. We do not condone piracy here but if you are interested in downloading ROMs for free, visit ‘Vimm’s Lair’ and download it from there.

Once you have the ROMs, create a folder anywhere on your computer, name it something easily identifiable and then open the emulator. Look for the ‘Add game directory’ button. Choose the folder where you stored the ROMs. Now click the ‘Scan for Games’ button. Your game and its respective cover art should appear on the window!
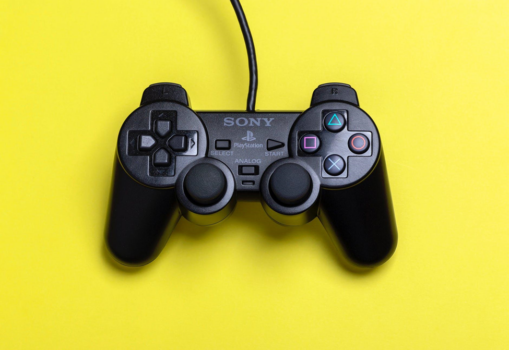
Right click the game cover art , select ‘Properties’ and change the settings according to your requirements. It should be noted that each game has its own specific settings to make it run well. Use the official wiki to find good settings that worked for other people. Here is an example link to the site’s entry on the game ‘God of War’. It is a good game to test how well the emulator runs on your system since it’s fairly taxing. Also don’t forget to rebind the keyboard mapping in ‘Settings->Controllers’ though I highly recommend using a controller, even a cheapo one instead of a keyboard because trust me, trying to rip of Medusa’s head with the arrow keys is an experience I wouldn’t wish on my worst enemy.

Let’s beautify ’em shall we ?
After all is said and done, these are over a decade old games we are trying to play after getting used to modern eye popping graphics. However, there is a way to rectify that! Introducing, Reshade! PC gamers must be already familiar with this small handy software responsible for enhancing old games as well as destroying it when used by people who has zero sense in art direction. Install it from here and enhance the games you play so that it actually looks like how you remember it from your childhood!
And that’s it guys, you now have a setup that’s virtually indestructible and superior to the original system in every conceivable way! Here are some games you definitely have to try:
- God of War 1 and 2.
- Grand Theft Auto: Vice City Stories (This is a port of the PSP version. This is different from the original Vice City and definitely worth playing!).
- Metal Gear Solid 2 and 3 for some of that dear old Kojima-craziness.
- Gran Turismo 4 – arguably the best GT game. Note that this game needs a very beefy system to run!
- Persona 3 FES with some mods from ‘Gamebanana’ site.
These games are a good start to get a feel of that era of gaming. So what are you waiting for now? Go on and drown yourselves in nostalgia fellow gamers !


